Categories :
Share This :


Growing mushrooms at home can feel like a secret club with too many opinions and not enough plain English. All-in-one bags are popular because they focus on what matters: a clean start, steady conditions, and patience while mycelium does the work.
They bundle the messy parts into one contained setup, so the process stays approachable without cutting corners. Here’s a beginner’s guide to all-in-one mushroom grow bags so you can approach this process without getting overwhelmed.
All-in-one grow bags are built to keep the entire grow contained, from inoculation to harvest. Inside the bag are a nutrient-rich grain portion and a bulk substrate portion, designed to feed mycelium in the long term. The bag itself includes a filter patch for gas exchange and an injection port for a cleaner inoculation step. When used correctly, the setup reduces handling and limits exposure to contaminants.
Grain is the fast fuel. It colonizes quickly because it is nutrient-dense, which helps mycelium expand with momentum. Bulk substrate is the slower, steadier food source that supports bigger fruiting later. In most all-in-one bags, these two parts start out separated so the grain can colonize first without the whole bag turning into a single compact mass. Once the grain is fully colonized, mixing spreads that growth into the substrate.
The bag is not just packaging. A filter patch allows gases to move in and out while reducing the chance of unfiltered air rushing in. Many bags also include a self-healing injection port intended for use with a sterile needle for inoculation. Keeping everything in a single sealed environment is a big reason these bags feel beginner-friendly. It is a simpler workflow with fewer risky steps.

Set up your bag in a clean, calm space at home. Focus on steady conditions and avoid overcomplicating the setup. Make sure you have all the necessary materials clean before beginning.
Mycelium likes consistency. A closet shelf, cabinet, or quiet corner often works well if temperatures do not swing wildly. Avoid direct sunlight and areas blasted by heating or cooling vents. Drafts can dry surfaces and create uneven conditions, especially once fruiting starts.
Inoculation is the first step where nutrients come into contact with the open air, even briefly, and it is why cleanliness is crucial. Use clean hands, sanitize the injection site, and keep the needle sterile. The point is to introduce the culture and nothing else. After inoculation, the bag should be left alone as much as possible. Constant handling does not speed things up; it usually creates new opportunities for trouble.
After inoculation, the best plan is to let the bag colonize without frequent check-ins. The filter patch handles gas exchange, so there is no need to open anything. Place the bag upright so moisture and substrate stay where they belong. If condensation appears, that is normal cases. The bigger concern is dramatic shifts, such as overheating, drying out, or repeatedly moving the bag between rooms.
Colonization is the part that tests patience, mostly because it looks quiet from the outside. Under the surface, mycelium is spreading through the grain, building a strong network, and preparing to take on the bulk substrate.
Healthy mycelium often appears as bright white growth spreading through the grain portion first. It tends to look dense and uniform rather than wispy or patchy. Some variation is normal, but strange colors or sharp, unpleasant odors can be red flags. A clean bag usually smells earthy or mushroom-like, not sour. Colonization can take time, and speed varies by species, temperature, and culture strength.
Most all-in-one bags are designed for a mix step once the grain is at least 50% colonized. Mixing distributes colonized grain throughout the substrate, which helps the entire bag colonize more evenly. This step should be done with clean hands and gentle pressure, avoiding aggressive squeezing that compacts the substrate. After mixing, the bag needs another colonization period so the mycelium can knit everything together into a unified block.
It is tempting to poke, shake, and move the bag in hopes of “helping.” Usually, that does the opposite. Mycelium responds to disturbance by redirecting energy toward recovery and re-colonization. Excess handling can also cause temperature fluctuations within the bag and disrupt moisture distribution. The best approach is simple: mix at the right time, then leave it alone again. The bag is designed to handle the rest!

Fruiting is where the grow shifts from colonization mode to mushroom-making mode. At this point, the mycelium has already claimed the substrate, so the job becomes creating the right signals for fruiting bodies to form.
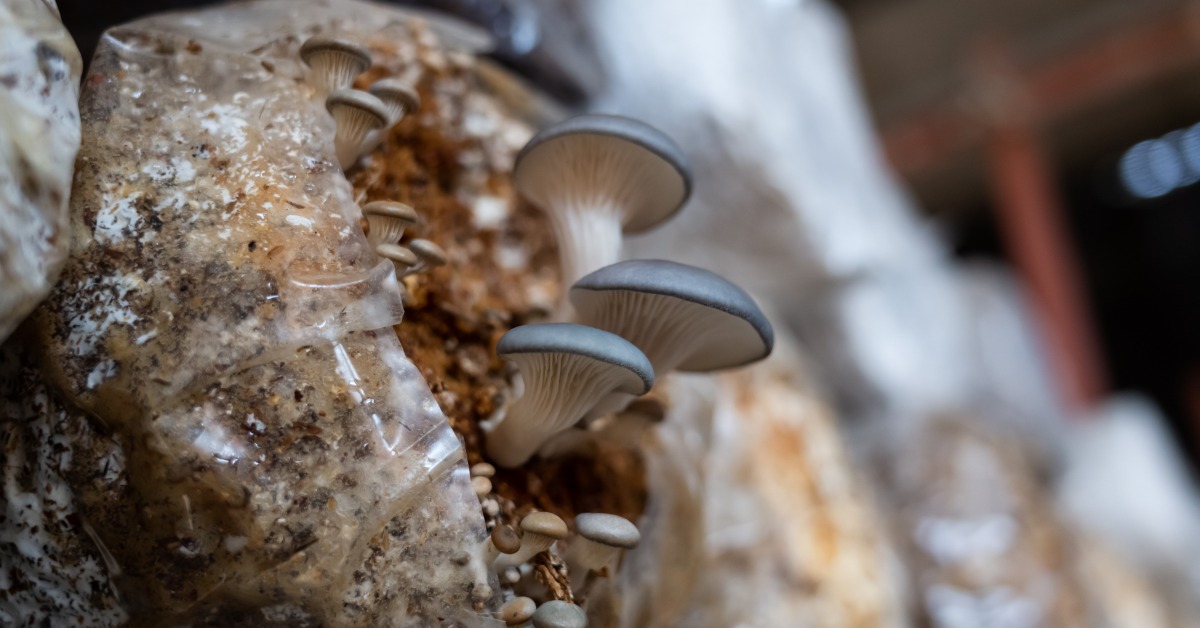
During colonization, higher carbon dioxide levels inside the bag are usually tolerated. Fruiting bodies, however, often need more oxygen and lower carbon dioxide to develop properly. Fresh air exchange helps encourage pinning and supports better mushroom shape. Balance matters here because too little fresh air can lead to long stems and smaller caps in wide varieties, while too much airflow can dry surfaces and stall pinning.
Mushrooms are water-rich, so humidity is important once fruiting begins. Still, humidity is not about soaking everything! Pools of water can invite bacterial issues and damage delicate, developing tissue. A better goal is maintaining a humid environment while allowing gentle surface evaporation. Keep it slightly moist, not wet.
Mushrooms do not use light the way plants do, but many species respond to it as a directional cue. A modest amount of indirect light can support normal development and help guide growth. Bright, hot sunlight is not the goal, as it can overheat or dry the bag. A steady day-night rhythm from ambient room light is often enough.
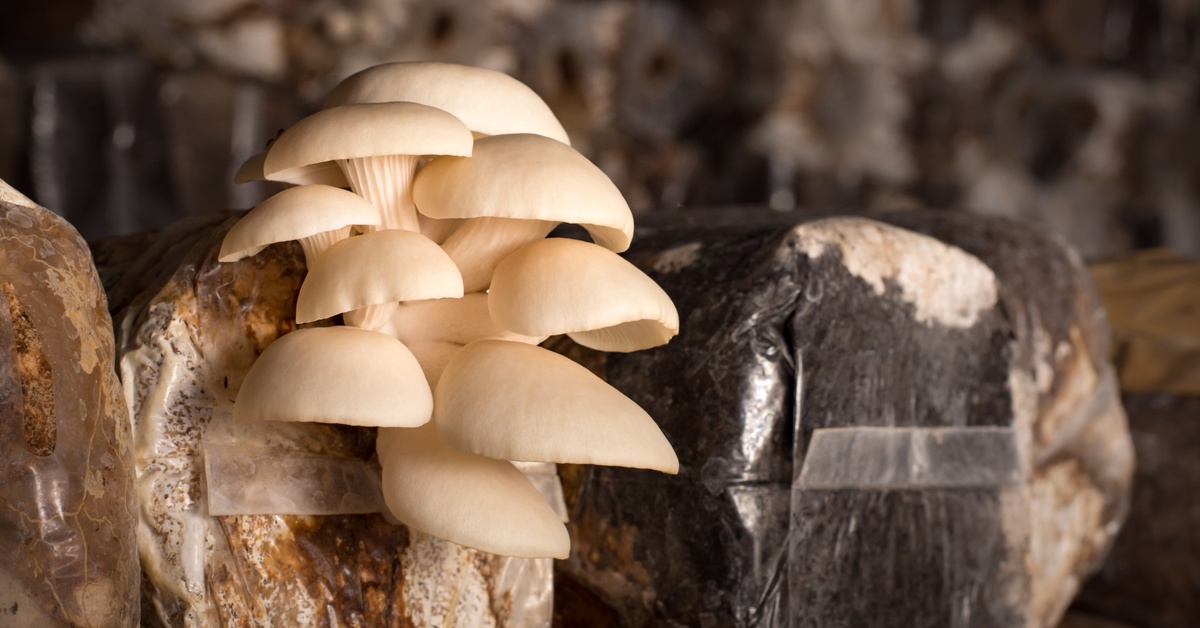
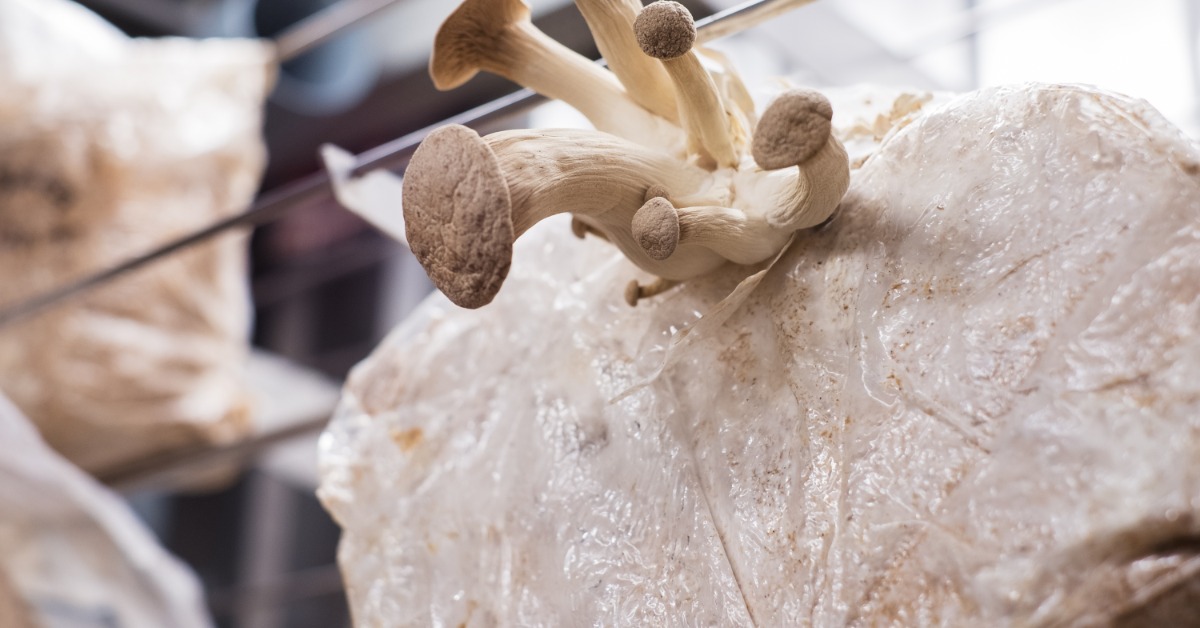
Harvest is usually best when mushrooms look mature but still firm, before they begin to soften or deteriorate. Different species have different visual cues, so it helps to know what a “ready” mushroom looks like for that variety. Harvesting cleanly reduces damage to the substrate surface and keeps the bag environment tidier. Do it gently! Rough pulling can tear the block, leaving stressed areas that dry out.
Growing mushrooms does not have to feel technical or intimidating. Keep this beginner’s guide to all-in-one mushroom grow bags in mind, and you can start growing mushrooms indoors without needing a complicated setup. Remember to keep the process calm, consistent, and clean, and the grow tends to follow.
Booming Acres offers beginner-friendly mushroom-growing supplies that support clean handling and stable indoor conditions from start to harvest! For anyone who wants a smoother first run, our all-in-one mushroom grow bags can be a practical way to focus on the fundamentals without juggling multiple substrates and containers. Explore our products today.