Categories :
Share This :


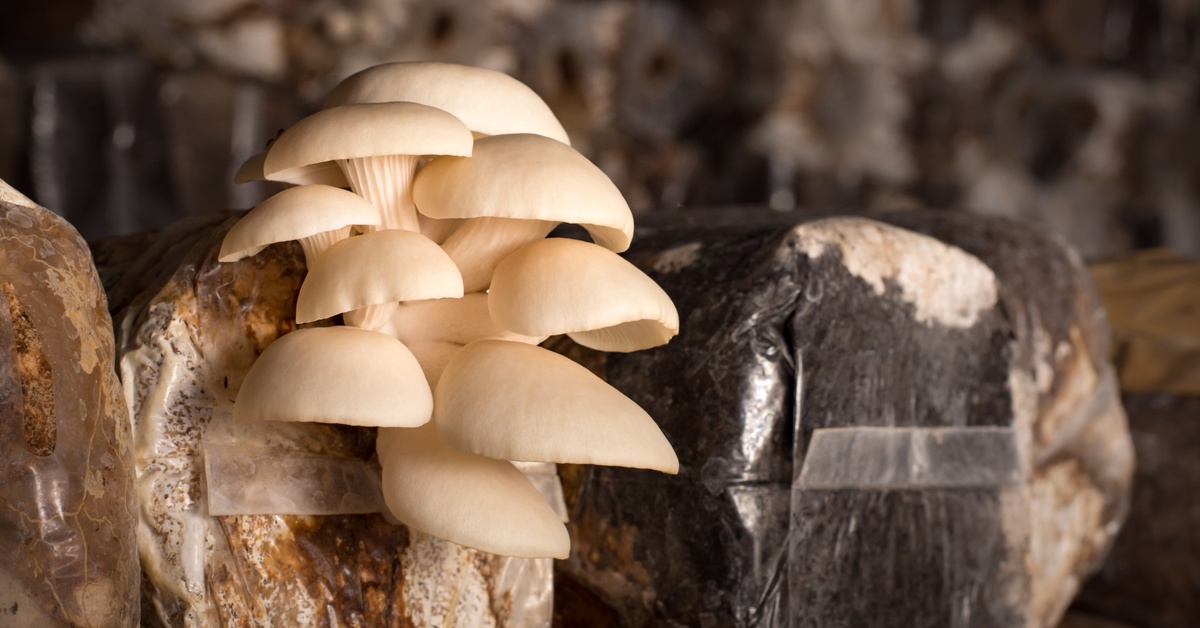
All-in-one mushroom grow bags are popular for a good reason. They simplify the early stages of cultivation by keeping grain and substrate together in one sealed setup. That makes the process feel much more approachable for beginners. Still, simple does not mean impossible to mess up.
Explore the eight mistakes to avoid when using all-in-one mushroom grow bags! The bag gives you a clean starting point. Your job is to protect that clean start long enough for the mycelium to do its work.
A sterilized grow bag starts clean, but it does not stay protected automatically. Once you inoculate it or expose any part of the system, your technique matters. That sterile start is only useful if you avoid introducing unwanted microbes afterward.
Many beginners assume the bag itself will prevent every problem. A sealed bag with a filter patch and injection port can reduce exposure, but it cannot fix a dirty needle or a dusty workspace. Clean handling is still part of the process.
Think of sterilization as the beginning of the grow, not a guarantee. The bag has already done the hard prep work for you. Now, the goal is to keep the inside protected while your mushroom culture establishes.
Inoculation is one of the most important moments in the entire grow. This is when you introduce spores or liquid culture into a sterile environment. If contamination gets in during this step, it may not show up right away. It can spread quietly while the bag still looks normal from the outside.
Set up your workspace before you begin. Clean the surface and wash your hands. Keep supplies close enough that you do not have to reach around once you start. The more organized you are, the less likely you are to make a rushed movement that compromises the bag.
Fast does not mean clean. A calm inoculation routine gives you more control. Wipe the injection port, keep the needle sterile, and inject without touching anything unnecessary. After that, leave the bag alone so the mycelium can start colonizing!

A sterile needle must remain sterile until it enters the injection port. This sounds obvious, but it is one of the easiest steps to accidentally ruin. Touching the needle or wiping it with the wrong material can introduce contamination before the culture ever reaches the bag.
Do not treat the needle like a regular tool. Treat it like the cleanest part of the process. Keep it capped until you are ready to use it. Once the cap comes off, move directly to the injection port.
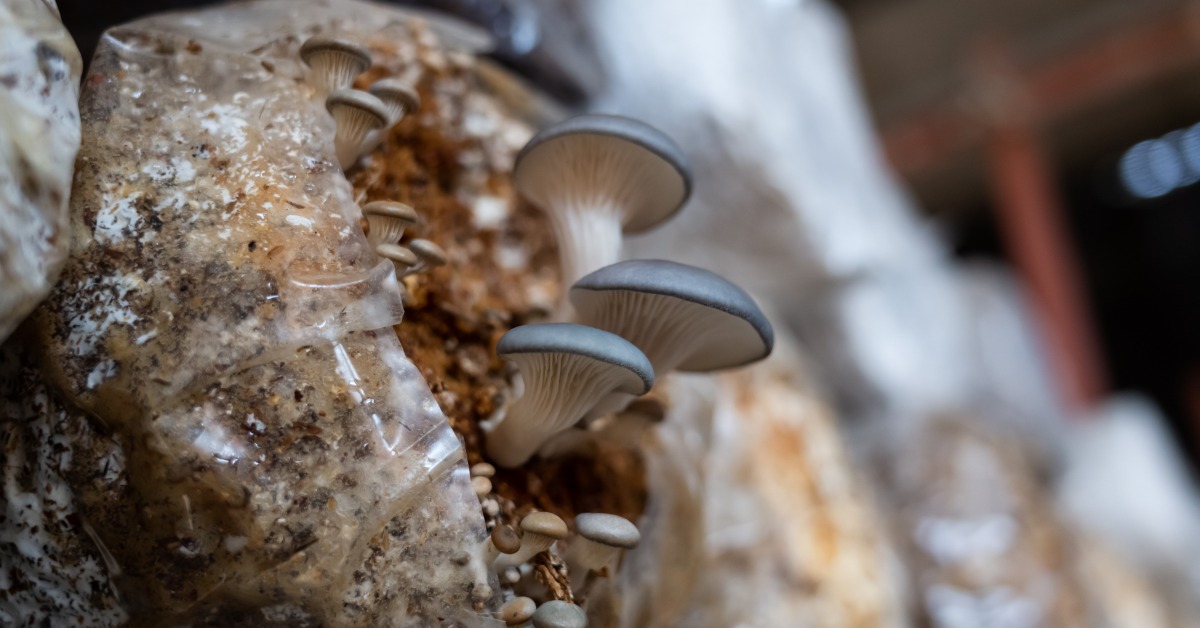
All-in-one bags are designed to stay sealed during colonization. The filter patch allows gas exchange while helping protect the bag’s interior. The injection port lets you inoculate without cutting the bag open. These features are there for a reason!
Opening the bag early adds risk without giving the mycelium much benefit. Beginners sometimes open a bag because they think it needs more air. During colonization, that is usually not the case. Opening the system too soon exposes nutrient-rich material to whatever is floating around in the room.
A filter patch does not need help from extra holes during colonization. Poking new openings can invite contaminants into the bag. Follow the bag instructions and wait until the proper fruiting stage before making changes.
It is natural to want to check progress every day. The problem is that grow bags do better when they are not constantly moved. Excessive handling can shift moisture, compact material, and stress the mycelium. It can also increase the chance of accidental damage.
Here are a few habits that help keep handling under control:
The place where you store the bag matters. All-in-one grow bags need steady indoor conditions during colonization. They should not be placed in direct sunlight or beside heaters or vents.
Temperature swings can slow growth and make the bag harder to manage. Meanwhile, strong airflow can dry areas out once fruiting begins. Key tip: the best storage spot is usually quiet and boring.
A stable shelf in a calm indoor space is often better than a spot that looks ideal but changes all day. You do not need to chase perfect conditions every hour. You simply need a place where the bag can colonize without stress.

Some all-in-one bags require mixing at a certain stage. Others have specific instructions for when to break up colonized material. The mistake is not mixing itself. The mistake is doing it too early or too aggressively.
If you mix before enough mycelium has established, you can slow the grow down. If you crush the bag too hard, you can compact the material, leading to uneven colonization. The goal is to help mycelium spread, not to force the bag to move faster.
Use the instructions that came with your setup. If the bag calls for mixing after a certain amount of colonization, wait for that point. If the instructions say to leave it alone, leave it alone!
Fruiting is exciting, so it is easy to rush. Once mycelium starts spreading, beginners may assume the bag is ready for fresh air and humidity changes. That can backfire. The bag should be fully colonized before moving into fruiting conditions, unless the specific instructions say otherwise.
When fruiting begins too early, the exposed surface may dry out or stall. The mycelium may not have enough strength throughout the bag to support a clean flush. Patience during colonization gives the grow a better foundation later.
A mostly colonized bag is not always the same as a ready bag. Look for steady, healthy mycelium throughout the material. If growth is patchy or slow, give it more time. Rushing this stage often creates more work later.
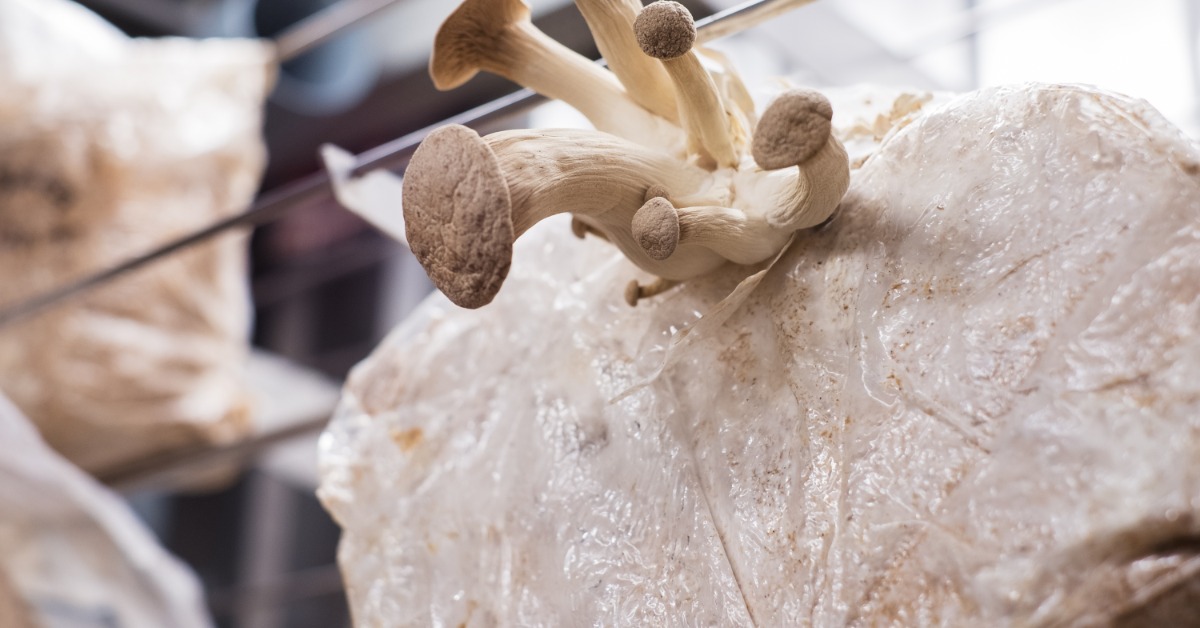
All-in-one mushroom grow bags are meant to reduce the number of steps you have to manage. They combine essential materials into a single, contained system, making the process easier for beginners. The best results usually come from respecting that design. Use the injection port correctly, let the filter patch do its job, and avoid changing the system before the bag is ready.
Once you understand the eight mistakes to avoid when using all-in-one mushroom grow bags, the process starts to feel less mysterious. You begin to see how much of cultivation comes down to timing and restraint.
Booming Acres offers mushroom-growing bags designed to help make indoor cultivation more approachable from the start. If you want fewer prep steps and a cleaner path into mushroom cultivation, starting with a ready-to-use setup can make the whole process feel more manageable. Shop Booming Acres and give your next grow a steadier start!
This article provides cultivation education only and does not provide medical advice. Nothing here has FDA approval, and nothing here claims to diagnose, treat, cure, or prevent any condition. Always follow safe handling practices and the instructions for your specific grow bag.